Showing posts with label bread. Show all posts

Friday, January 25, 2013

Rhodes Pineapple Coffee Cake

You guessed it.  Today I'm over at the Rhodes blog guest posting.  I showed the easy step-by-step instructions for Pineapple Coffee Cake.  This is seriously one of the easiest Rhodes recipes I have made.  Yet it doesn't taste like it was easy.


This recipe makes me want  to do some more experimenting.  I think this recipe could be turned in to all sorts of coffee cakes.  But for today, pop on over to the Rhodes Blog and make this coffee cake today.  You'll love it.  I know I did.


Friday, November 16, 2012

Rhodes Pumpkin Slices with Rum Sauce

Today I'm posting over at the Rhodes Blog.  I made Pumpkin Slices with Rum Sauce.  Oh. My.  This recipe is soo tasty.  It's cinnamony, pumpkiny all drizzled with rum sauce that tastes like penuche fudge.  I know I'm not adequately describing this delicious sweet bread.  You just need to make it and devour it today.


Pop on over to the Rhodes Blog and see the step by step instructions yourself.


Wednesday, February 8, 2012

Rhodes Blog- Pepperoni Bread

Today I'm over at the Rhodes Bread Blog guest posting.  I made some yummy pepperoni bread.  It's soo easy to make and really good.  We love it for lunch or dinner.  But we really love it when we're watching a football or basketball game on tv.  It's great alone or dipped in marinara sauce or ranch dressing.  I've made it with different meats and lots of different cheeses too. 


It is so versatile.  Just keep a loaf of Rhodes frozen bread dough in your freezer and you can add whatever meats and cheeses you have on hand.

   
Now go thaw a loaf of Rhodes bread and start planning your dinner now.

Thursday, July 7, 2011

Rhodes Guest Blogger Post


Today I'm over at the Rhodes Bread Blog.  I'm showing how to make Rhodes Grilled Rolls.  These rolls are soo delicious.  We have been grilling a lot and these grilled rolls are the perfect way to have delicious rolls without heating up your oven or your kitchen. 

In honor of me posting over at the Rhodes Blog today, Rhodes and I are giving away a copy of their new cookbook, Home Baked Family Favorites.  It is an amazing cookbook.  Each recipe has its own picture, which is huge to me.  I love that in a cookbook. 

To enter, all you need to do is head over to the Rhodes Blog, check out the step by step recipe for Grilled Rolls and leave a comment.  Then head back over here and leave a comment letting me know you read the post.

If you want extra entries, follow Rhodes on facebook or twitter or you can subscribe to the Rhodes youtube channel.  Just click the links below.  Then come back here and leave a seperate comment for each one.

Giveaway ends at midnight on Sunday, July 17th.
Winner picked by random.org

Now go try some of these rolls for dinner.  You'll be glad you did!

Wednesday, May 11, 2011

Rhodes Guest Blogger and a GIVEAWAY

I am so excited that I have been asked to be a guest blogger on the new Rhodes Bake-N-Serv blog. I have always loved Rhodes Bread.  What an honor to be able to guest post for them from time to time.

This morning I posted a delicious new favorite at my house, Cheddar Bread.  It's from Rhodes newest cookbook,  Home Baked Family Favorites.   This bread is delicious.  It's perfect with soup, salad and dinner.  Actually it's so good by itself that's how it usually gets eaten at my house.  But if there are leftovers, it makes a delicious sandwich as well.


Pop over to the Rhodes Bake-N-Serv blog and check out the step by step instructions.  In the meantime, look at these pictures.  Does it make you want to eat some of this bread?  You could be eating it for dinner. Get over to the Rhodes Blog and get baking.


In honor of my first post, Rhodes is giving me a copy of their new cookbook, Home Baked Family Favorites for one of you readers.  It is a fabulous cookbook.  Every recipe has a picture (a must for me).  It contains 174 recipes. 

To enter leave a comment below
For a bonus entry, leave a comment on the Rhodes blog, then come back and leave me a comment letting me know

Giveaway ends at midnight June 22, 2011
Winner will be announced June 23, 2011


Thursday, March 31, 2011

Fat Tuesday Beignets

A few weeks back, on Fat Tuesday to be exact.  I was perusing a few of the blogs I check out regularly.  I stopped by Living the Scream to see what Carly had been up to.  She mentioned a food blog that somehow I hadn't heard of, Our Best Bites. I don't know how I'd missed that one.  But when I flipped over, they were making Beignets for Fat Tuesday.  I thought it was a sign. 

I've never been to New Orleans.  But I have had beignets.  They are delicious.  But who wouldn't love some fried dough heavily dusted with powdered sugar?  So I decided to give them a try.

Beignets

Recipe by Our Best Bites

1 c. whole milk
1/4 c. + 1 Tbsp. sugar, divided
1/4 c. vegetable oil
1 tsp. table salt
3 1/2-4 c. all-purpose flour
1 scant tablespoon dry active yeast
1/2 c. warm (about 105 degrees) water
1 egg
Peanut oil for frying-I just used vegetable oil

In a small saucepan, combine the milk, 1/4 c. sugar, vegetable oil, and salt. Heat over medium heat until small bubbles form around the edges of the pan. Remove from heat.

While the milk is heating, combine the yeast and 1 Tbsp. of sugar with 1/2 c. water. Allow to stand for 10 minutes or until it’s very bubbly.

In the bowl of a stand mixer, combine the heated milk and 2 c. flour. Mix, scraping the bowl occasionally, until smooth (about 2-3 minutes). Add the egg and mix until well-combined. Add the yeast mixture. Add enough flour to make a soft dough that slightly sticks to your finger.

At this point, you can either place the dough in a bowl sprayed with non-stick cooking spray and cover with a piece of sprayed plastic wrap and refrigerate the dough up to 1 day or you can roll the dough out on a lightly floured surface. I have made these both ways and either way worked great. Either way, when you roll it out, roll it into a large rectangle about 1/4″ thick. Using a pizza wheel, cut the dough into about 3″x4″ rectangles. Slightly separate the dough pieces and cover with a clean cloth. Allow to rise for 30 minutes.

When the dough has about 15 minutes left to go, heat 2-3 inches of peanut oil in a large skillet or saucepan to 325 degrees (just use a candy thermometer). This actually broke my candy thermometer.  After that I just tested the oil by dropping one in at a time.  If it didn't raise immediately to the surface, the oil wasn't ready.  If it started to smoke it was too hot. When the oil is heated, fry the dough pieces for about 90 seconds-2 minutes per side or until they are golden. Carefully remove from the oil and allow to drain on a paper towel-lined baking sheet.

Place some powdered sugar in a fine-mesh strainer and sprinkle the powdered sugar generously over the beignets. I put about 1 cup of powdered sugar into a lunch sack.  Then I dropped them into the bag and gave them a good shake.  It was less messy.  Serve immediately. Makes about 24-30 beignets.


We loved these and I have added the recipe to my recipe box.  Thanks Carly and thanks Our Best Bites!

Friday, January 7, 2011

French Bread-- Food Nanny Recipe

French Bread

This is a really easy bread recipe from Liz Edmunds, The Food Nanny.  I was able to go to a class that she taught and I was so impressed by her.  She has an amazing plan for planning meals.  Each night of the week is a different type of food, for example, Monday-comfort food, Tuesday-Italian, Friday-pizza, and so on.  Liz is also so sweet and very personable.  I bought her cookbook and I would recommend it to anyone.  She was a wealth of information and I've loved every recipe I've made from her cookbook.

This recipe is actually called French Baguettes, but we're kind of simple around here so it's just french bread to us.

1 1/2 cups warm water
1 1/2 T. active dry yeast, (2 packets)
2 tsp sugar
3 1/4 cups flour
2 tsp salt
melted butter

In a small bowl combine 1/2 cup of the warm water, the yeast and 1 tsp of the sugar.  Stir to combine and let mixture stand for about 5 minutes or until foamy.

In a large mixing bowl blend the flour, salt, the remaining teaspoon of sugar and the yeast mixture.  Gradually add remaining water and mix until the dough forms a smooth ball that is not too sticky to handle (if it is too sticky add a little more flour)  Turn the dough onto a floured surface and knead briefly until the dough is smooth and elastic.
Cut the dough in half and shape the halves into baguettes. Grease a baguette pan and place the loaves in the pan. Score the loaves down the middle, cover with a dish towel and let rise in a warm place for about 30 minutes or until doubled in size.


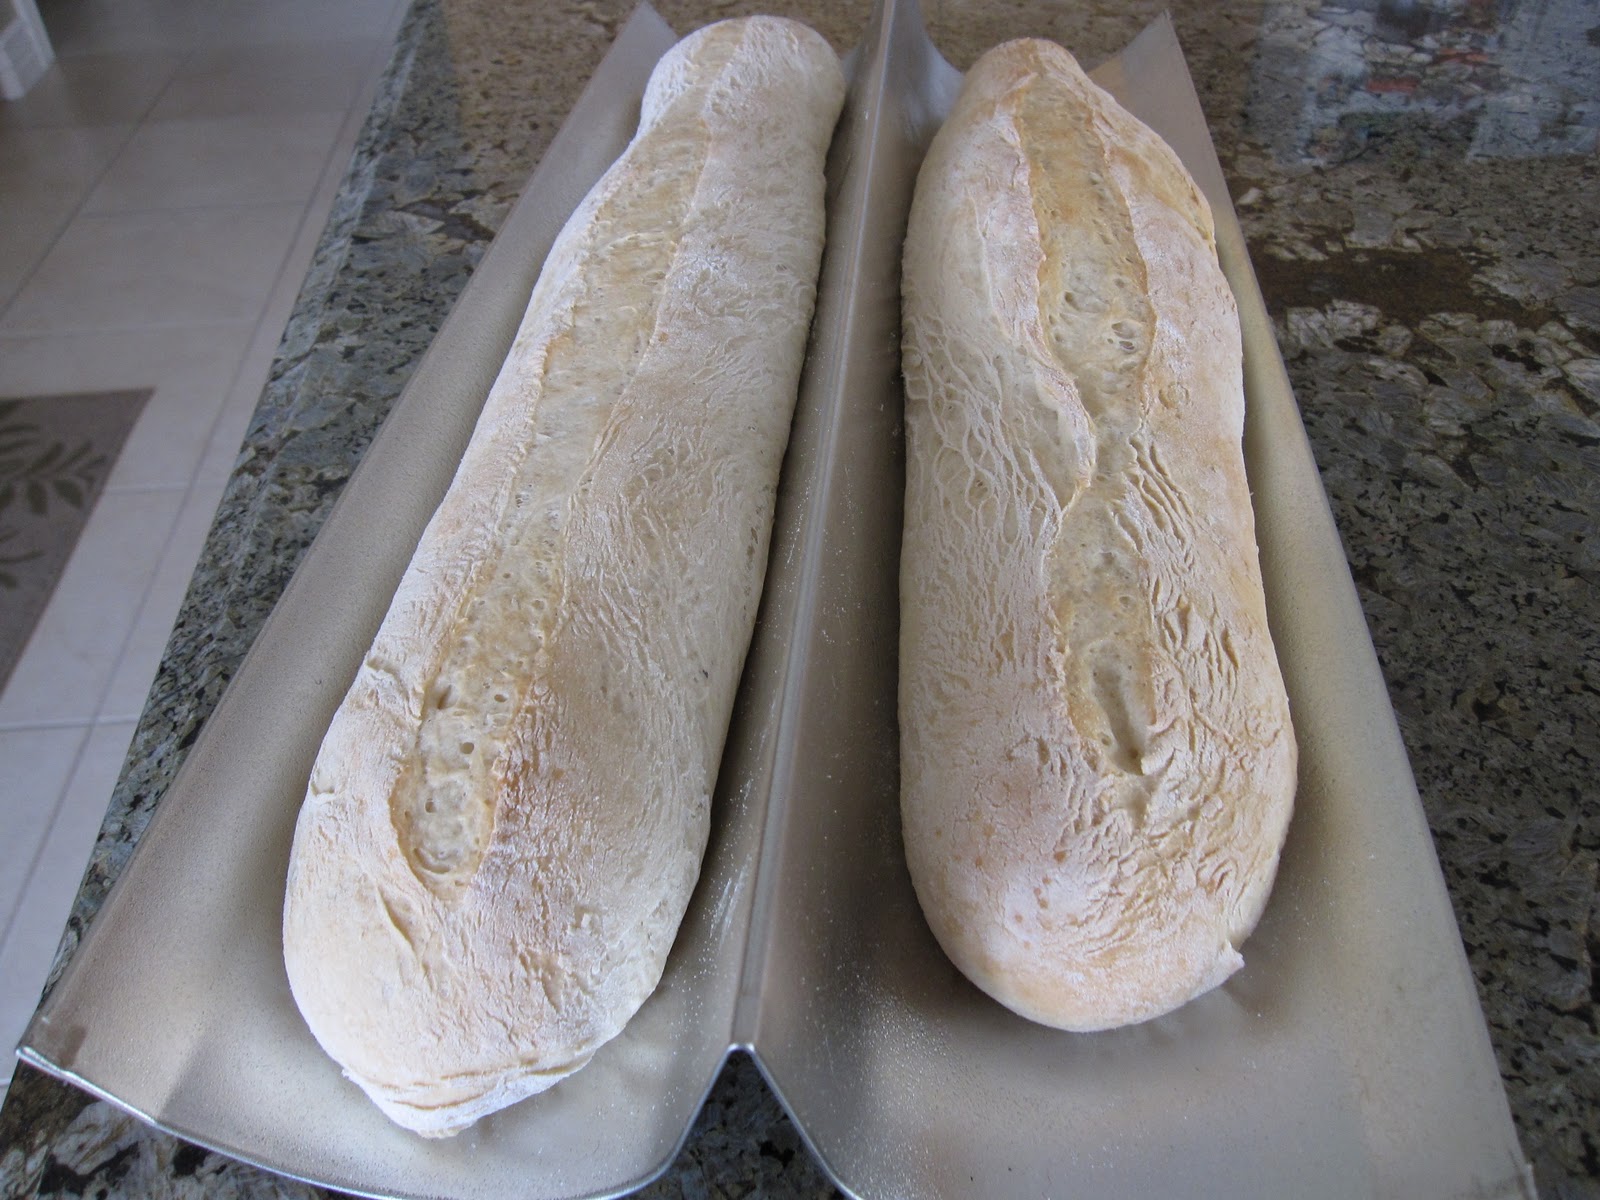
Here's the scored loaves in the baguette pan.  The pans are inexpensive and I love them!  Don't judge these sad shaped loaves, they get better.


Here they are after raising for 30 minutes.

Preheat the oven to 450 degrees and place a shallow pan of water in the bottom of the oven to create steam. Bake the baguettes for 15 minutes. If desired brush the tops with melted butter halfway through the baking. For a softer crust, brush with butter when they have finished baking.


Here they are after baking but before brushing with butter.


And here's how my husband likes it, slathered with butter and jam. 
But that's another post.

Seriously, this is an easy recipe that takes one hour start to finish.  If you are afraid of bread and yeast, this is the perfect recipe to start with.  And if you are an experienced bread maker, this is a great addition to any meal.

Thursday, December 9, 2010

Breadsticks from Pizza dough

 
Previously I posted about making homemade pizza.  Sometimes I double the recipe and use some of the dough for breadsticks.  I also make it just for breadsticks.
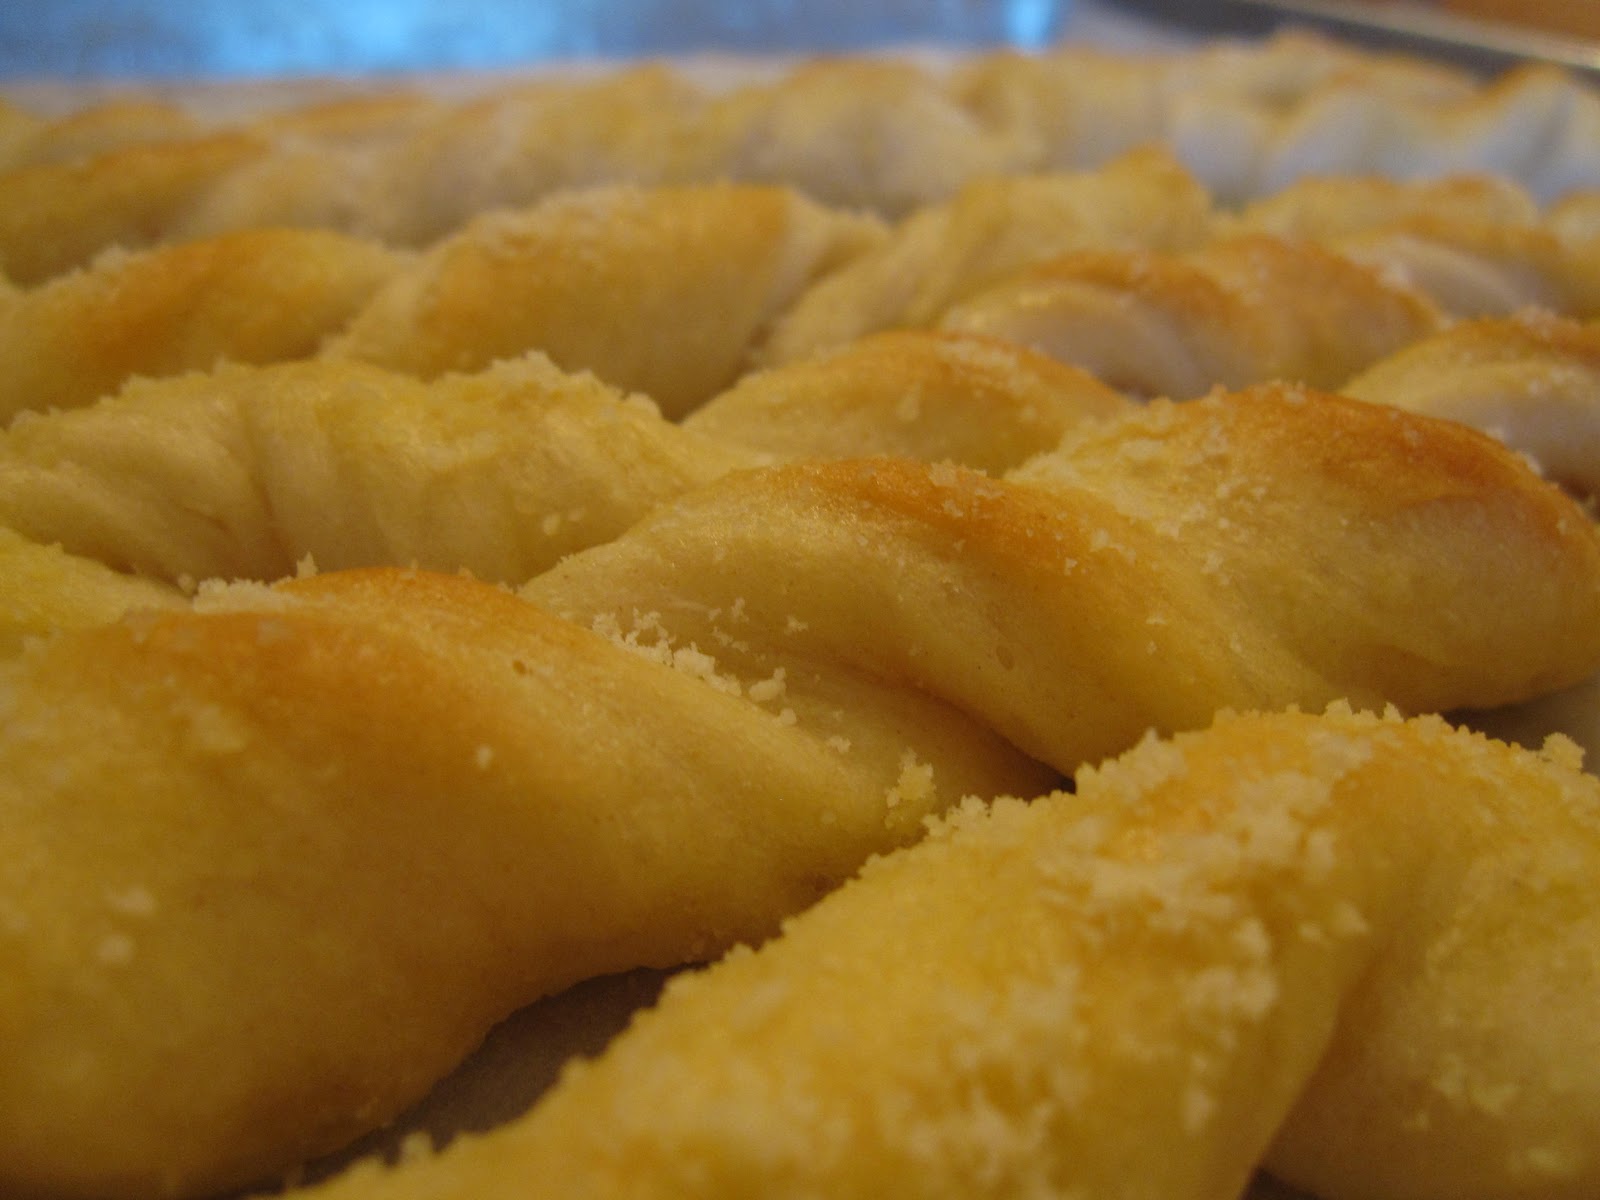
I just make the pizza dough.  Then I roll it out about as thin as I would for a pizza crust.  Using a pizza cutter, I cut the dough into 1 inch strips.  Then twist the strips and place on a greased cookie sheet.  I always use parchment paper.  It makes for quicker cleanup and saves your pans.  Then brush with melted butter and garlic salt.  Let them raise for 30-45 minutes.  Bake at 425 degrees for about 10 minutes or until golden.  Remove from oven and brush with butter and sprinkle Parmesan cheese on top.


Yum!  I think I'll make some for dinner tonight!

Thursday, September 23, 2010

Rhodes Bake-N-Serv Demo Night for Bloggers

Last week Dee-Dee from Whatever Dee-Dee Wants invited me to a special night  at the Rhodes Bake-N-Serv test kitchen.  Rhodes was hosting a demo night for bloggers from around the Salt Lake valley, although a few were from farther away.  Lucky for me, I got on the invite list.  It was a wonderful night.  Rhodes treated us great.

The Demo was presented by Heidi V.  She was awesome.  I've worked with Rhodes frozen bread dough a lot but boy did she have a few tricks up her sleeve.  She was full of advise and made everything look easy and do-able for even a beginner.

Did you know that every bag of Rhodes dough has a no fault guarantee?  I didn't.  But it does.  If your bread, rolls, etc. don't turn out you can get a refund.  Rhodes is so confidant in their products, they guarantee them.

A few tips Heidi mentioned when purchasing your Rhodes products
  • look for the expiration date
  • no ice crystals on the product
  • the dough isn't frozen together
  • ideally use the frozen dough within 1 month
Rhodes was soo good to us.  Each of us received a gift bag containing a cookbook, Fresh Ideas with Frozen Dough, an apron and a gift certificate for frozen dough.  They also had a freezer at the demo filled with different products.  We could pick one to take home with us.  Not to mention the food they served us.

There was such good food.  Bread is my favorite food group, you know.  Heidi made Butterscotch Bubble Loaf, Mango Salsa Bake, Bacon Cheese Nibbles,  Cinnamon Blueberry Crumble, Cinnamon Rolls, Orange Rolls, Kaiser Rolls, Breadsticks, rolls and bread.  There was so much food we each filled a plate and they even sent us home with all the extras.
Check out the Rhodes Baken-N-Serv website.  There are tons of ideas and recipes.   I've always loved Rhodes, but I'm back on their bandwagon again.  Thanks Heidi and Rhodes.  It was a wonderful evening!


Wednesday, June 30, 2010

Whole Wheat Bread

I've finally found a whole wheat bread recipe that my family loves!  Not just to eat while it's warm, but for toast and sandwiches too.  It's soft yet doesn't fall apart.  It's absolutely delicious. 

I grind my own flour but you can just buy yours.  Or talk your friend with a wheat grinder into grinding some for you.  I started using hard white wheat to fool my kids that it was only half wheat flour.  But they like it so much that I've been using half hard red and half hard white wheat.

I found this recipe over at The Sisters Cafe.  I changed it a little bit to suit my needs.


Whole Wheat Bread
makes 5 loaves
3 1/2 cups hot tap water
1 12 oz can evaporated milk
3 T. instant yeast
2/3 cup oil
1 cup honey
1 cup white flour (I guess that doesn't make it "whole wheat" bread)
3 T vital wheat gluten
12 cups whole wheat flour
1 1/2 T salt

If grinding your own wheat, grind all of the wheat before you start.  Approximately 8 cups of wheat is equal to 12 cups flour. 

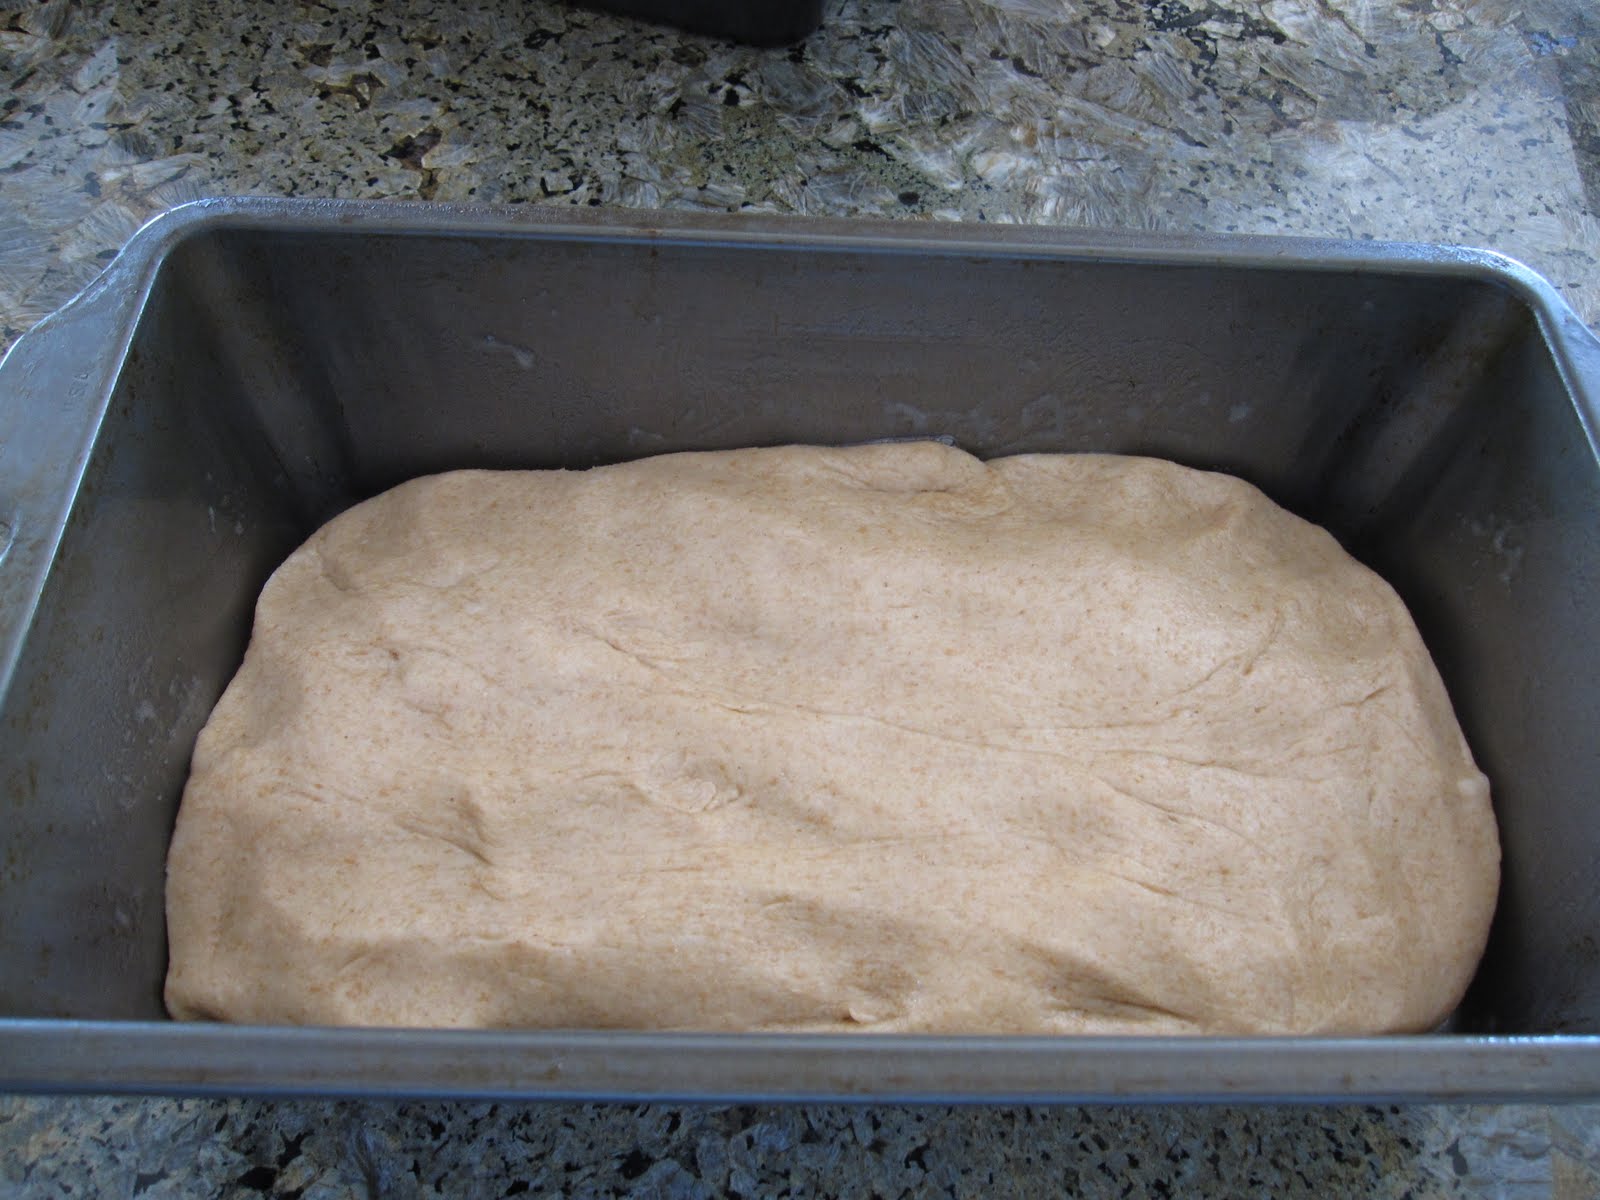
Using a heavy duty mixer, (I use a Bosch) combine ingredients in the order given, mixing well after half of the flour.  Then add the other half of flour and salt.  If dough is too sticky, add a little bit extra white flour.  Knead in mixer for 8 minutes.  Dump dough onto counter and form into a log.  Divide into 5 equal parts.  Put each part into a greased medium loaf pan.  Push down the sides to fill the bottom of the pan, leaving the top round and smooth.  Don't worry too much about it looking perfect here. 

Cover and let rise in a warm place for about 1 hour or until desired size. 


Bake in preheated 350 degree oven for 25-30 minutes.  Remove from oven and brush tops with melted butter, if desired. 


Let cool ten minutes before removing from pans.  Cool completely before slicing.  Although we never wait for that.

Sunday, May 23, 2010

Cinnamon Roll Class

A few weeks ago I was asked to teach some girls from the neighborhood a cooking class.  I thought they would enjoy learning how to make cinnamon rolls.  They did really well and we had a fun time.  Not to mention that we ate a bunch of cinnamon rolls too.

First I taught them about proofing the yeast.


When the dough was made, they wanted to touch it.  Just to see what it was like.

Then I showed them how to roll out the dough.
Next comes the melted butter.
Then sprinkle the cinnamon sugar mixture and the brown sugar.

I then showed them how to roll them up.  I aslo showed them how I like to cut the rolls, with thread.  Wrap the thread around the roll.  Then cross the thread and pull.  It makes a clean cut every time.


The girls each made a pan to take home. 

We had a great time.
Thanks Dee-Dee for asking me and thanks
Qing

Claire

Madi and Sydney. 
It was a fun afternoon.  Now go make some for yourself!


Cinnamon Rolls
1 cup milk
1/4 cup butter
1 T. or 1 package yeast
1/4 cup warm water, 105 to 115 degrees
1/4 cup sugar
1 egg, beaten
3 1/2 to 4 cups flour
1 tsp. salt

melted butter
cinnamon sugar mixture
brown sugar
white frosting

Scald milk, add butter to melt and set aside to cool. Soften yeast in warm water, can add part of the sugar to speed to growth of the yeast. Let stand for 5 minutes. In a large bowl or mixer with dough attachment add yeast, milk and butter, egg, remaining sugar, salt and 3 cups of flour. Mix well. Work in more flour as needed. Knead until smooth. Put in greased bowl and cover. Let rise until double in bulk (about 1 hour). Punch down. Put on lightly floured surface. Roll out to rectangle. Brush with melted butter, sprinkle with cinnamon/sugar mixture and brown sugar. Starting with long end, roll up. Cut into 1 inch sections and place on greased pan. Cover and let rise for 30 minutes to 1 hour. Bake at 350 degrees for about 15 minutes or until they start to brown. Let cool for 5 minutes and then frost.


White Frosting
1/4 cup softened butter
1/2 tsp. vanilla
3 cups powdered sugar
3-4 T. milk
Mix butter, vanilla, powdered sugar and half of the milk together. Slowly add remaining milk depending on the desired consistency.